
8 Tips and Tricks for Mastering Microsoft Word
Our Top Microsoft Word Tips and Tricks
Microsoft Word has been the cornerstone of document creation for decades, relied upon by
students, professionals, and organisations around the globe. Its familiar interface and powerful features make it an indispensable tool for writing letters, drafting reports, creating resumes, and more. However, beneath the surface of its more commonly used functions - like typing and formatting text - Word hides a wealth of features that can significantly enhance your productivity and efficiency.
In this blog post, we’ll take a closer look at these features. We’ll show you not only how they help, but give you a step-by-step guide to use them. While beginners will get the most from these tricks, more experienced users might be surprised to see a few they could benefit from too!
Microsoft Word Tip #1: Time-Saving Shortcut Keys
If you're working on Word documents regularly, one of the best ways to increase your productivity is to get familiar with keyboard shortcuts. These keys or combinations of keys provide a quick and efficient way to perform various tasks without lifting your hands off the keyboard to use a mouse.
For example, some of the most commonly used shortcuts include 'Ctrl+C' to copy, 'Ctrl+V' to paste, and 'Ctrl+Z' to undo an action. But Word also offers many other less-known but highly useful shortcuts. Here are a few examples:
- 'Ctrl+Shift+> or <' to increase or decrease the font size.
- 'Ctrl+Alt+M' to insert a comment in your document.
- 'Alt+Shift+D' to insert the current date.
- 'F7' to run a spell check on your document.
So, instead of sifting through the menus or toolbars, remember these time-saving shortcuts and hidden options. They can make your document creation process significantly faster, allowing you to focus more on your content and less on navigating the software.
Microsoft Word Tip #2: Customisation for Professional-Looking Documents
A well-formatted document looks professional, enhances readability, and leaves a positive impression on the reader. Here's how you can use Word's robust formatting and layout options to give your content a polished, professional touch:
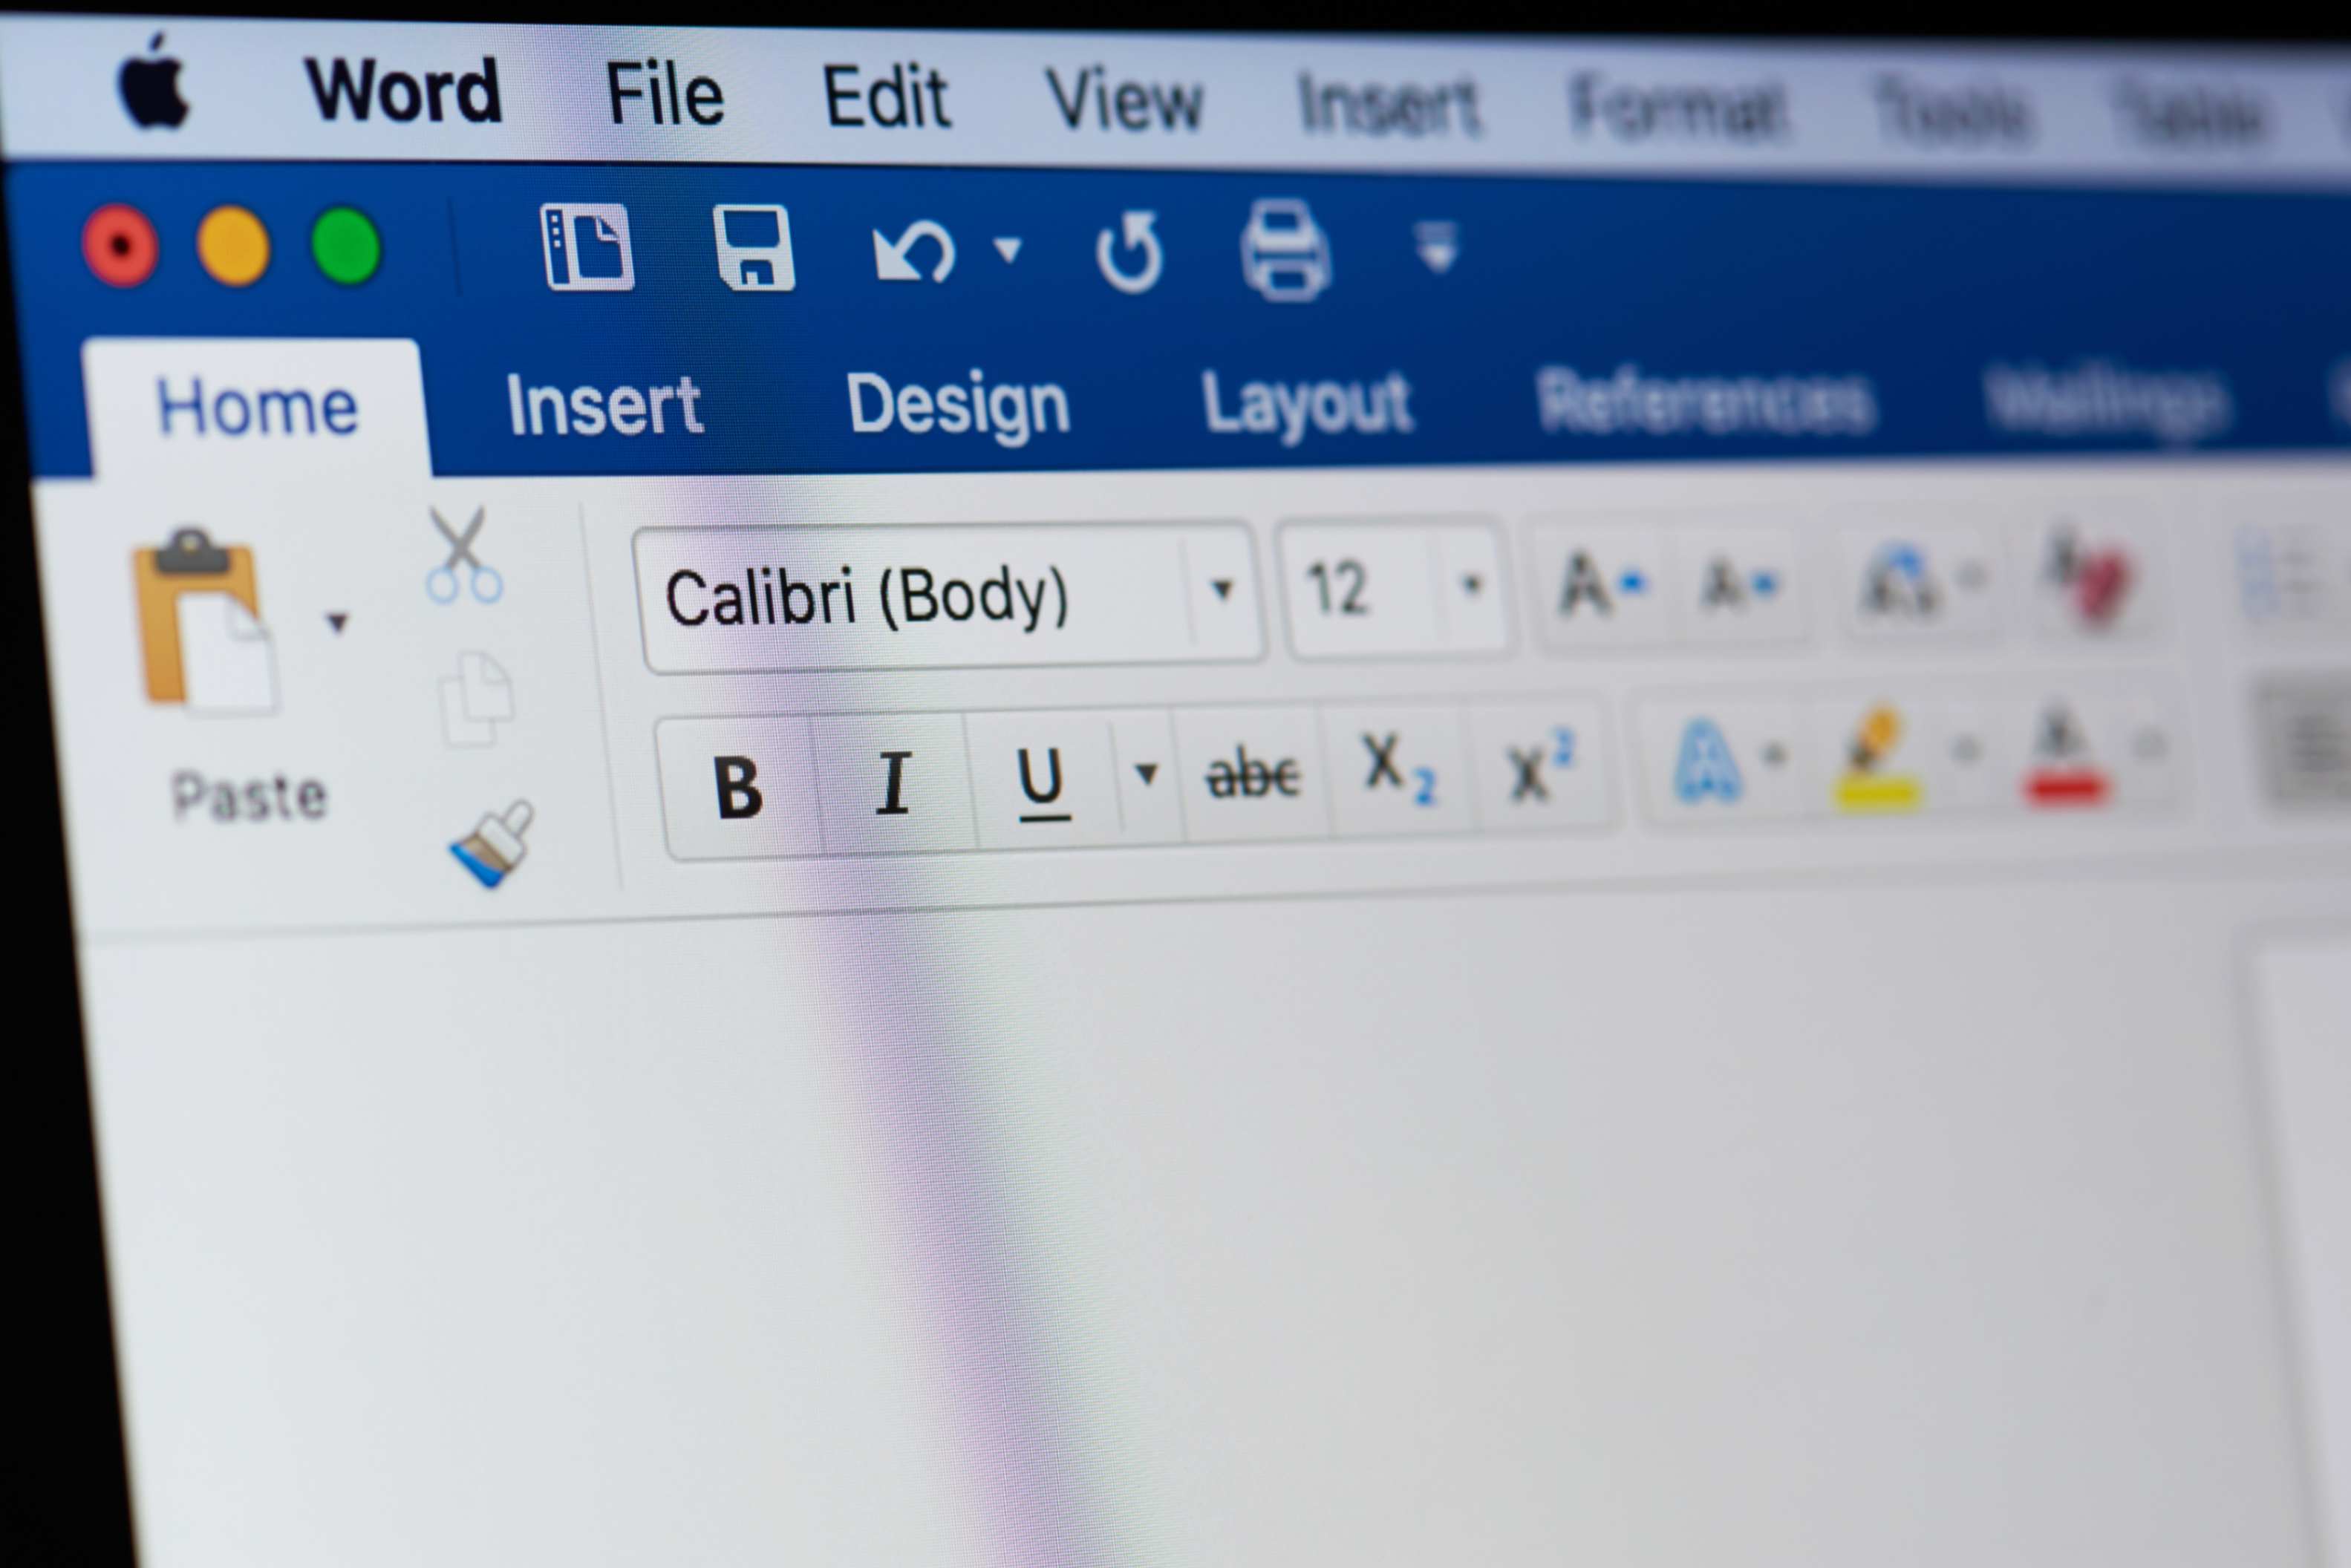
Fonts and Styles:
To make your document visually cohesive, pick a font and stick to it throughout your document. 'Ctrl+D' is a shortcut that opens the font dialog box where you can select your font style, size, and colour.
Margins and Page Orientation:
You may need to adjust your margins or change the page orientation depending on your content. Go to 'Page Layout' > 'Margins' to select a predefined margin or create custom margins.
Paragraph and Line Spacing:
Spacing plays a critical role in the readability of your document. 'Ctrl+1', 'Ctrl+2', and 'Ctrl+5' are shortcuts for single, double, and 1.5 line spacing. For more detailed spacing and indentation settings, right-click on your text and select 'Paragraph'.
Remember, the key is consistency: stick to your chosen formatting rules throughout the document for the most polished result.

Microsoft Word Tip #3: Unleash the Power of Styles
Styles in Microsoft Word are one of the most potent, yet underutilised features of the application. They allow you to define how different text types should look, providing a consistent and professional appearance across your entire document.
The real power of styles comes into play when you need to change the format of similar elements in your document. Rather than manually updating every instance, you can simply alter the style, and Word will automatically apply the changes wherever that style is used. This feature can be a massive time-saver, particularly in larger documents.
Here's how you can start using styles:
- You can find the Styles section in the Home tab. It provides a range of pre-formatted styles for different text elements, such as titles, subtitles, headings, and body text.
- To apply a style, select the text you want to format, then click on the desired style in the Styles section.
- You can create your own if the built-in styles don't meet your needs. Simply format a piece of text as you wish, then in the Styles section, select the option for 'Create a Style'. You can then name your style and use it elsewhere in your document.
- To modify an existing style, right-click on it in the Styles section and select 'Modify'. Any changes you make will be reflected in all text using that style.
Embracing the use of styles will speed up your formatting tasks and help maintain a consistent, polished look across your documents. Once you start using styles, you'll wonder how you ever worked without them!

Microsoft Word Tip #4: Harness the Magic of Templates
In our digital age, the appearance of a document can be as important as the content it carries. With Microsoft Word's vast array of pre-designed templates, creating professional, visually stunning documents has never been easier.
Templates are preformatted documents designed for specific types of content. They serve as a starting point, providing a structure and design that you can build upon to create your final product. Word offers templates for virtually every need, from resumes and cover letters to business reports and newsletters.
- To view the available templates, go to the 'File' tab, select 'New', and you will see a variety of templates displayed. You can browse through these or use the search bar to find something specific.
- Once you've found a template that suits your needs, click on it for a detailed preview. If it's what you're looking for, click 'Create' to open a new document with that template. The template will have placeholder text, images, and other elements, all of which you can replace with your own content.
- You can change the colour scheme, modify the font style and size, add or remove sections, insert your images, and much more. This allows you to maintain a professional design while adding your personal touch.
- If you've heavily customised a template and plan to use a similar design in the future, you can save it as a custom template. Go to 'File' > 'Save As' > 'Word Template'. The next time you want to use this design, go to 'File' > 'New' > 'Personal' to access your custom templates.
Again, this tip not only gives your document a more professional, visually-impressive look but can be a real time-saver when you learn how to use it.

Microsoft Word Tip #5: Embrace Macros for Automation
One of the most powerful tools in Microsoft Word is macros – mini-programmes that automate repetitive tasks, saving you considerable time and effort. Macros can execute these tasks with just a single click- whether inserting a standard table, applying a specific format, or performing a routine check.
- To record a macro, go to the 'View' tab, select 'Macros', and then choose 'Record Macro'. Give your macro a name (avoid spaces and special characters), assign a button or a keyboard shortcut to it if you like, and then click 'OK'. Now, whatever actions you perform in Word will be recorded. When you've finished, go back to the 'Macros' menu and select 'Stop Recording'.
- To run your macro, go to the 'View' tab, select 'Macros', and then choose 'View Macros'. Select the macro you want to run and click 'Run'. Your recorded actions will be executed instantly.
By learning to use macros, you can significantly enhance your productivity, allowing you to focus on creating content rather than those more repetitive tasks.
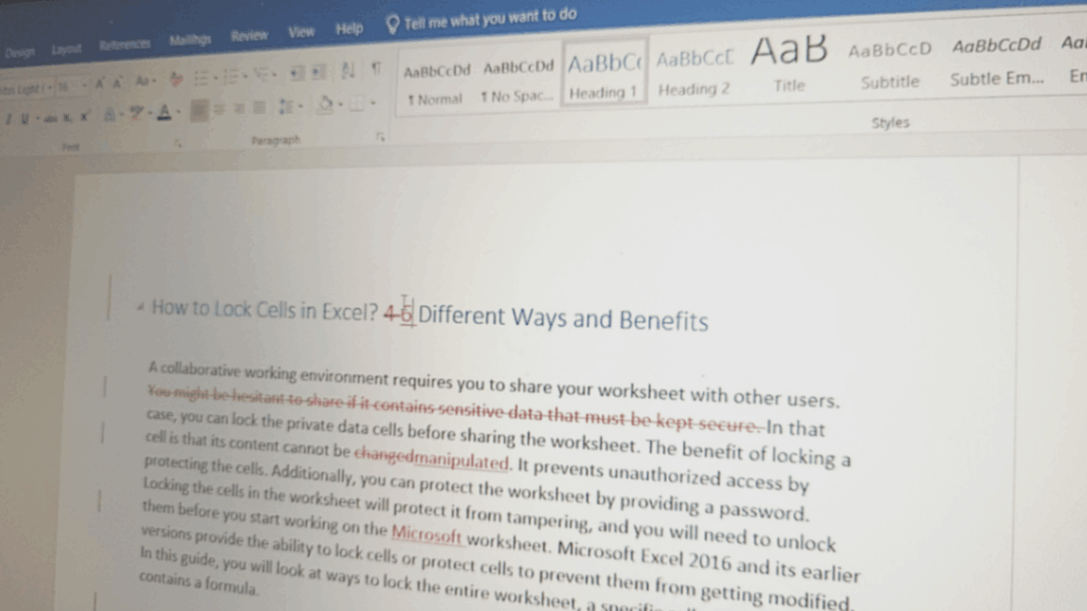
Microsoft Word Tip #6: Effortless Collaboration with Track Changes
When working on a document with a team, keeping track of the changes made by different contributors can be challenging. Luckily, Microsoft Word offers a powerful feature for this: Track Changes. It records every edit made to the document, making collaboration seamless and transparent.
- Go to the 'Review' tab and select 'Track Changes' from the menu. Now, any changes you or others make to the document, like adding or deleting text, will be recorded.
- When Track Changes is activated, any edits will appear as marked-up text. You can review these changes in detail by navigating to 'Review' > 'Next' or 'Previous'. This will move you through each change in the document.
- Once you've reviewed the changes, you can accept or reject them individually or all at once. Go to 'Review' > 'Accept' or 'Reject' and select the desired option from the dropdown menu. Accepted changes will become a part of the document, while rejected changes will be removed.
Remember, for a team to work effectively on a shared document, transparency is key. The Track Changes feature ensures that everyone's contributions are recognised, and disagreements can be resolved efficiently.
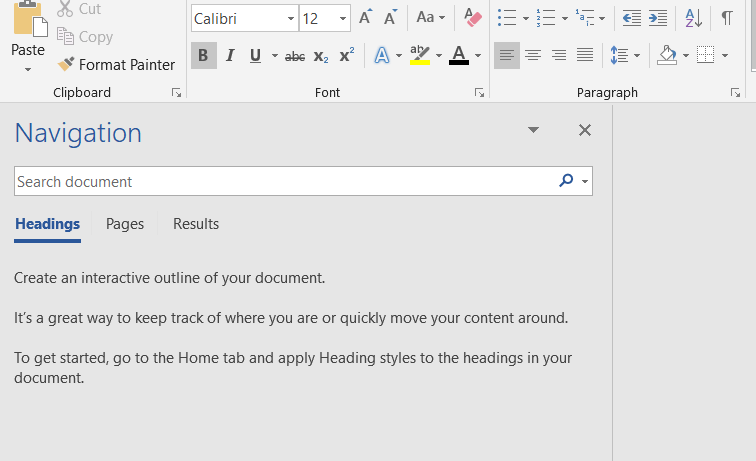
Microsoft Word Tip #7: Master Document Navigation with Navigation Pane
Long and complex documents can sometimes be difficult to navigate, especially when you're searching for a specific section, heading, or page. Microsoft Word's Navigation Pane simplifies this task by offering an organised view of your document, making it easy for you to jump to any part you need.
- To open the Navigation Pane, go to the 'View' tab and check the box next to 'Navigation Pane' in the 'Show' group. The Navigation Pane will appear on the left side of your Word window.
- The Navigation Pane organises your document based on your headings. Each heading appears as a clickable link in the pane. Clicking on a heading will take you directly to that section in the document. This makes it particularly easy to navigate documents with many sections or chapters.
- The Navigation Pane also includes a search function. Typing a word or phrase into the search box at the top of the Navigation Pane will highlight all instances of that word or phrase in your document. This is particularly useful when you're looking for specific information in a large document.
Remember, a great document isn't just about the writing; it's also about the ease with which your readers can navigate it.
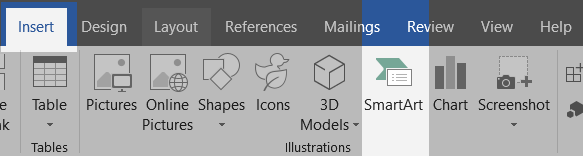
Microsoft Word Tip #8: Explore SmartArt for Visual Impact
SmartArt is a powerful tool that allows you to create professional-looking graphics to visually represent your ideas, processes, or hierarchies, enhancing your documents' overall clarity and visual appeal.
- To insert a SmartArt graphic, go to the 'Insert' tab and select 'SmartArt'. You'll see a variety of graphic categories like 'List', 'Process', 'Cycle', 'Hierarchy', and more. Choose the one that best suits your needs.
- Once you select a category, you'll be presented with numerous layout options. These layouts represent different ways to visually structure your information. Select a layout to insert it into your document.
- After you've inserted a SmartArt graphic, you can add text to it. Click on the placeholders in the SmartArt (usually marked by "Text") and start typing. The text will automatically adjust to fit within the graphic.
Whether it's an organisational chart, a process diagram, a cycle, a matrix, or a pyramid, SmartArt graphics can bring a whole new level of visual appeal to your documents.

Conquer These MS Word Tips and Tricks with Pitman Training
The power of Microsoft Word lies in these advanced features, which, when used effectively, can dramatically boost your productivity and the quality of your documents. But remember, theoretical knowledge is just the starting point; practice is what truly makes perfect.
If you're inspired to take your Microsoft Word skills to the next level, consider enrolling in a comprehensive MS Word course with Pitman Training. Our course provides hands-on, practical training, ensuring you can apply these tips and much more with confidence and expertise. So, why wait? Start your journey towards mastering Microsoft Word today, and watch as your productivity and document quality soar. Your future self will thank you!


Post a Comment